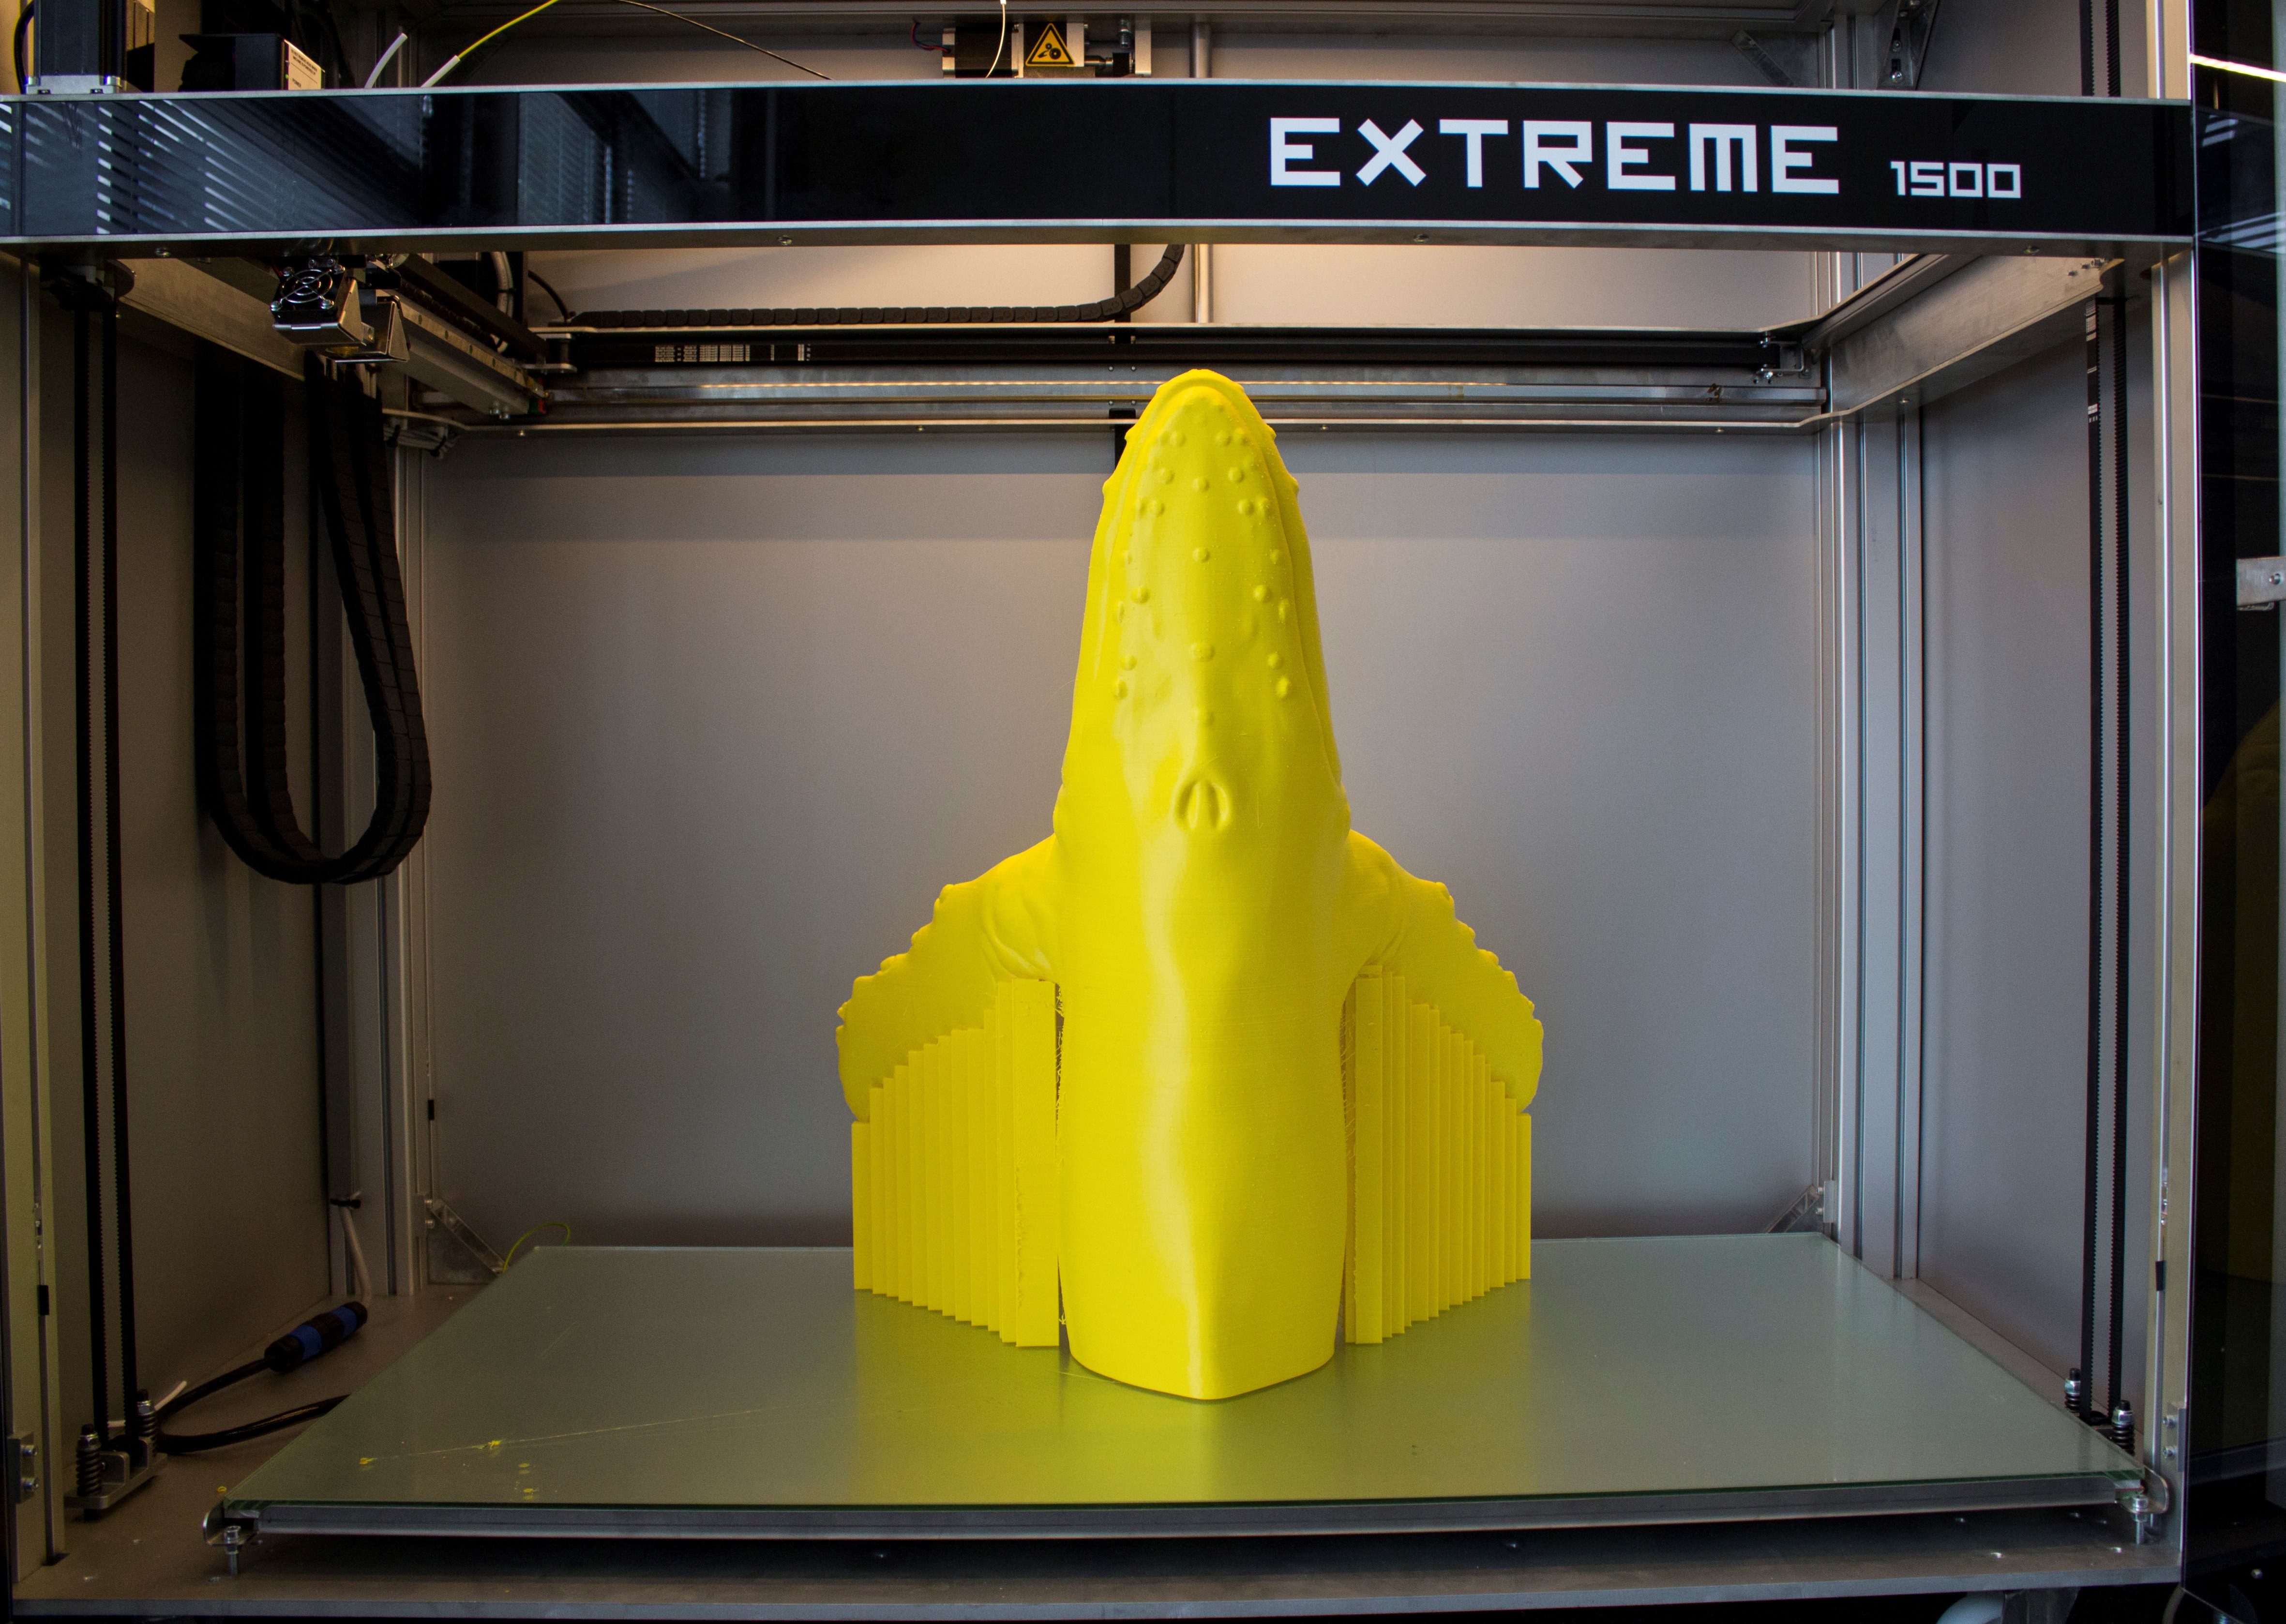
Removing the Extreme from the pallet
After unboxing the Builder Extreme, make sure you remove the Extreme from the pallet with a forklift truck and place it on a leveled concrete floor. Do not print while the Extreme is on the pallet. When not having a forklift truck, please check the online manual for more information. The Builder Extreme 1500 is the only Extreme which comes with wheels. Note that the wheels must be installed after the Extreme is removed from the pallet for safety reasons.

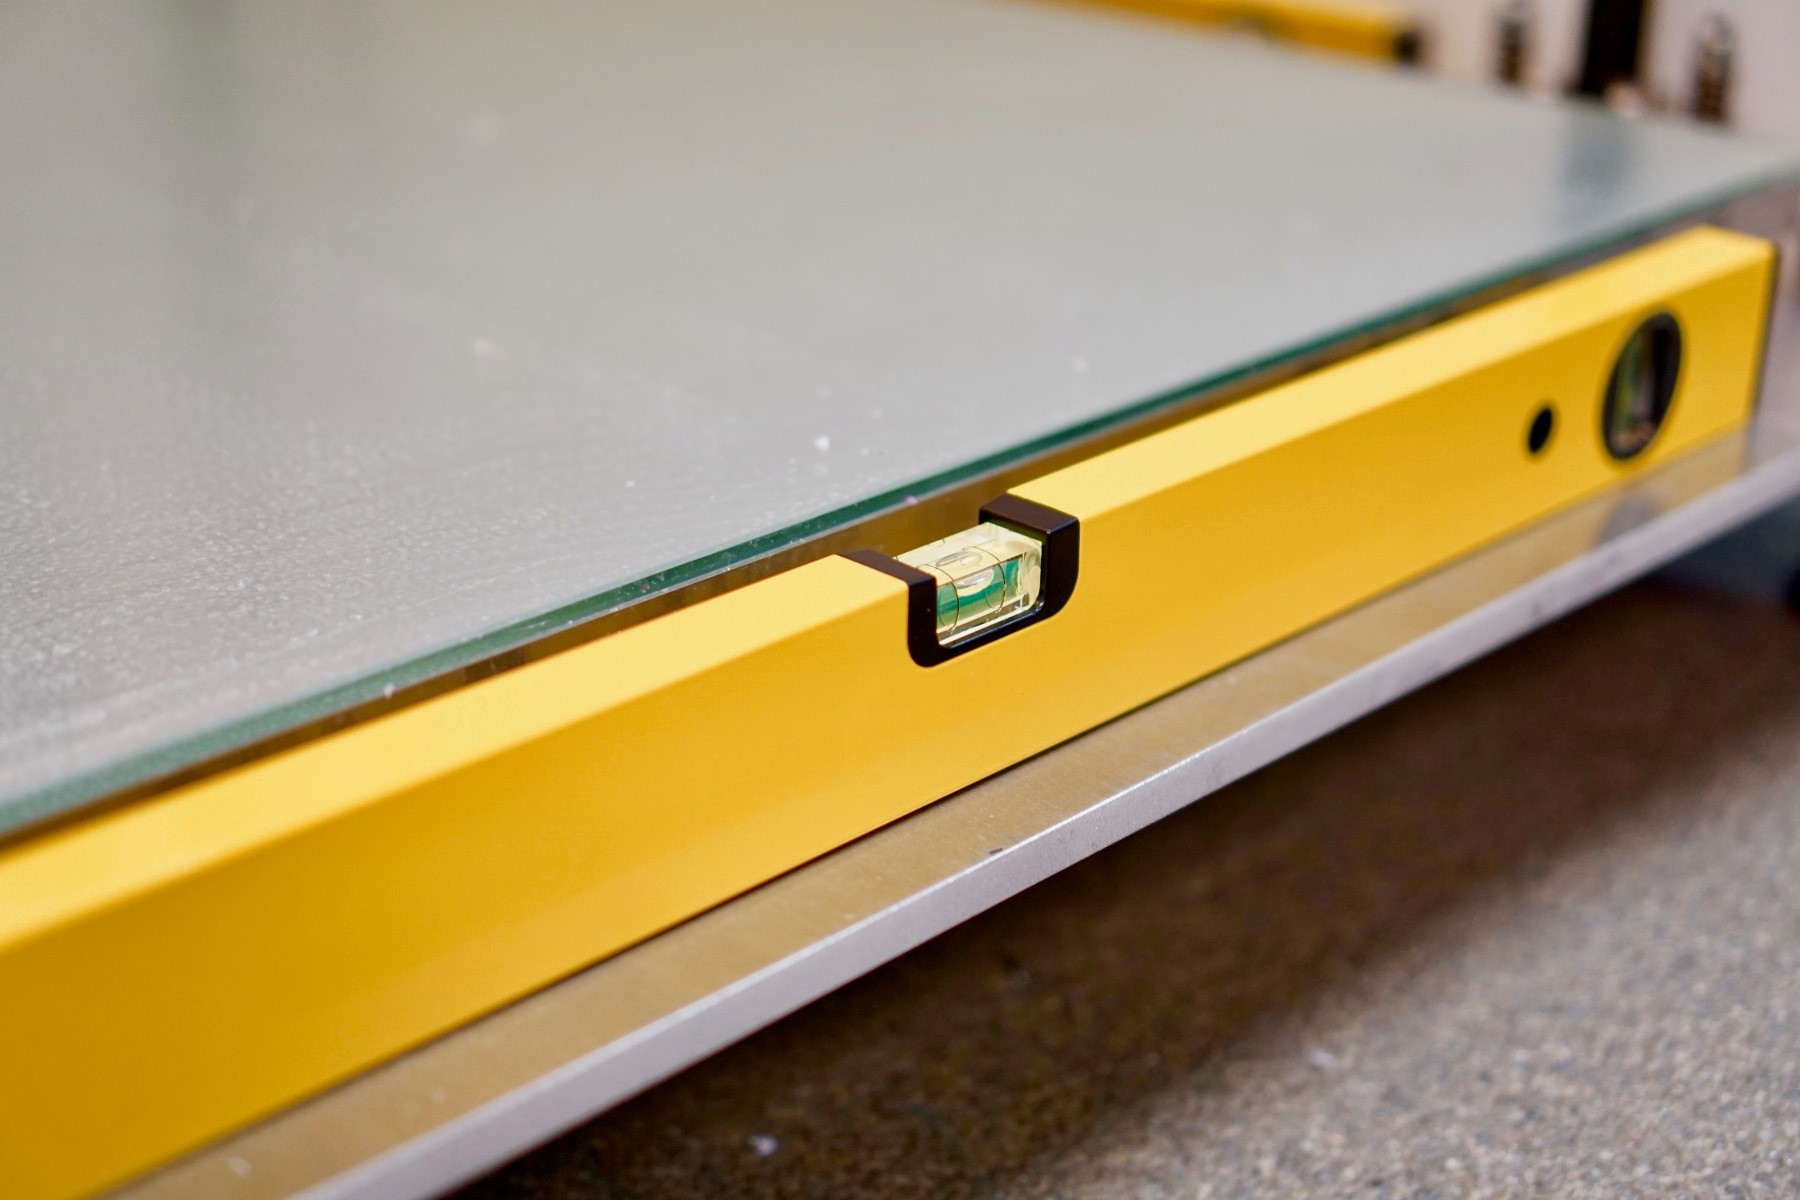
Levelling the Extreme
Use the 2 yellow spirit levels to make sure the machine is leveled. Use the spirit levels on the front, left and right side of the frame. Note that you do not need to level the bed, you need to level the machine itself. The bed was already leveled in our factory. Put in the power plug and turn on the UPS system using the switch on the battery box. The battery box is located behind the control box (EX1000/1500) or in the top drawer (EX2000). Switch on the machine by pushing the button, located at the front on the control box, for a few seconds.
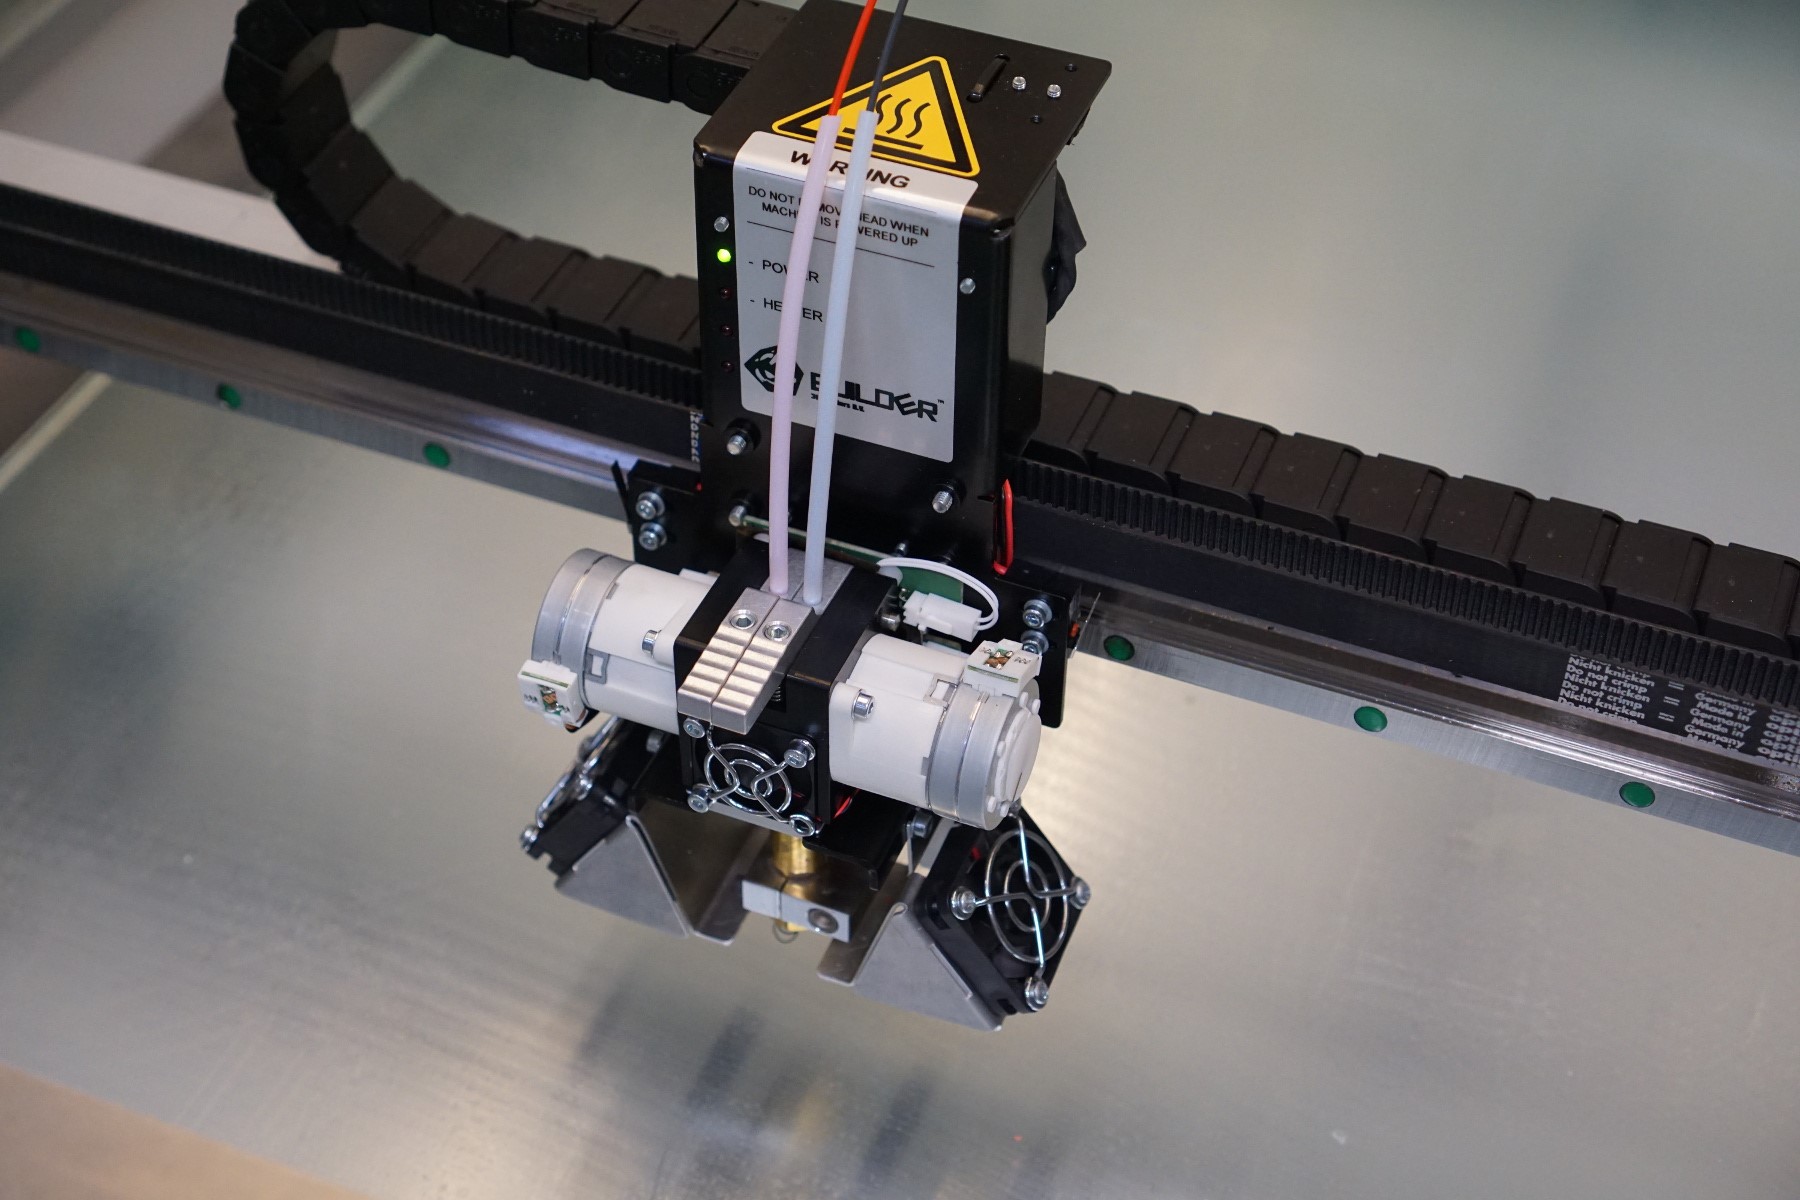
Installing filaments
Pre-heat the print head to 210˚C and the bed to 50˚C degrees and install filament in both extruders. Note that the Dual-Feed extruder needs to be filled with BOTH filaments all the time, even when you print in 1 colour. This prevents the Dual-Feed extruder from clogging. See online manual for instruction video.
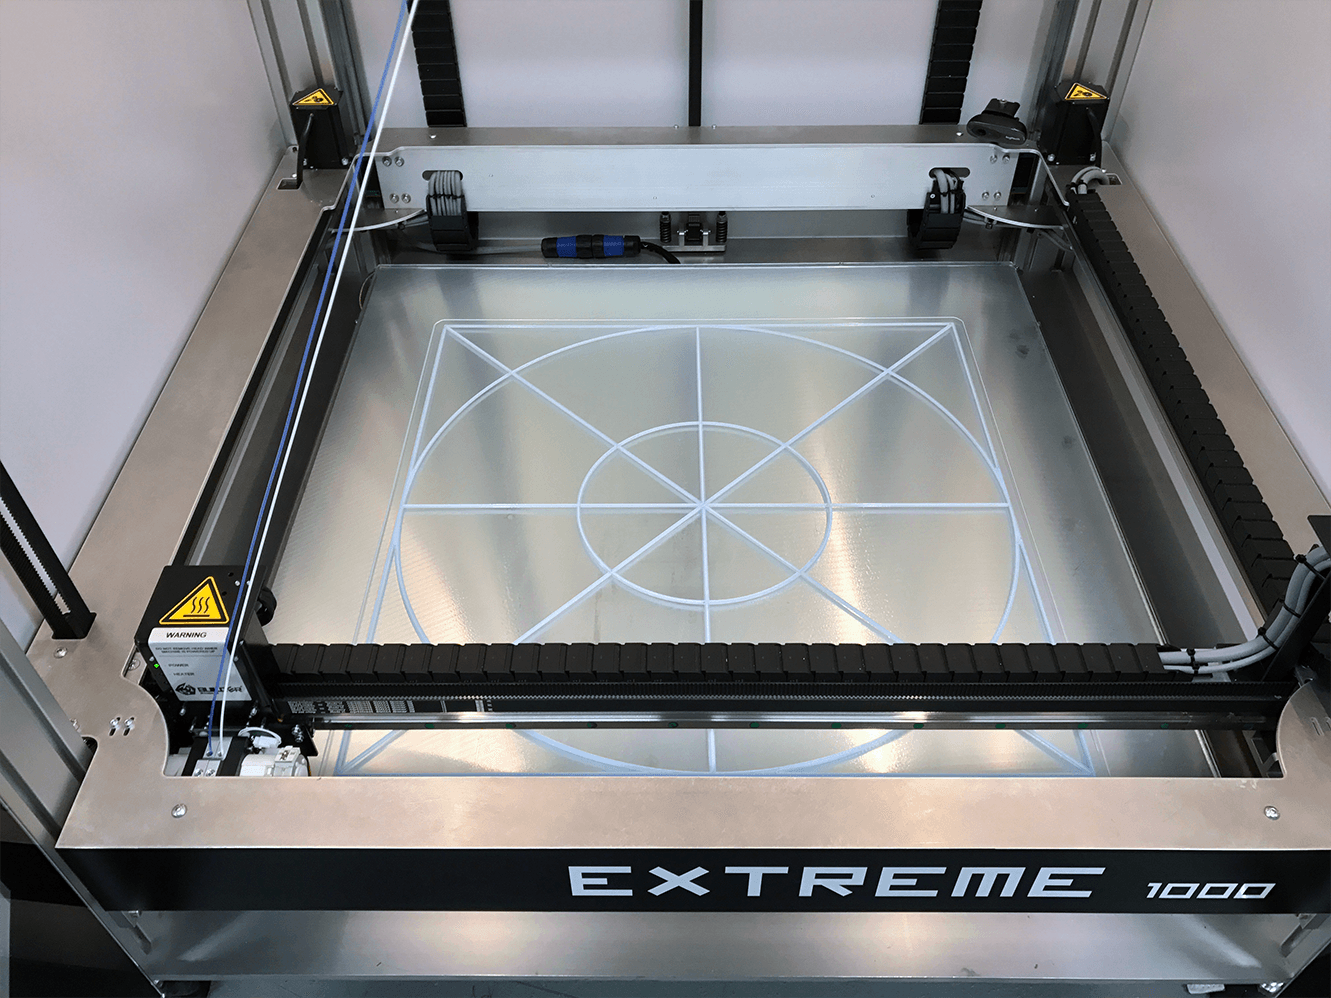
Starting the surface test print
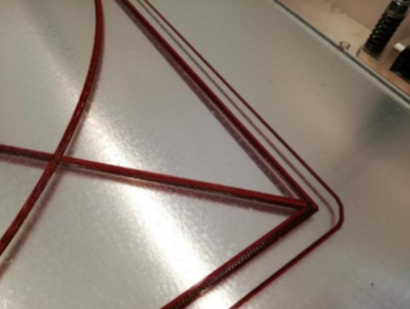
Start printing the surface test which is already uploaded on the Builder Extreme. The surface test (0.4 mm nozzle) shows you if the build plate is still levelled after shipping and installation. The 0.4 mm nozzle is on the print head when the machine is shipped from the factory.
Surface check
The surface test is ok when the print sticks equally to the build plate. An indication that the nozzle is too far from the build plate is: When the print does not stick to the build plate. An indication that the nozzle is too close to the build plate is: If no material is coming out of the nozzle. This first layer print height can be adjusted using the “Set Z-offset” menu.
Home screen -> settings -> Service -> customer -> Set Z offset
If other problems occur during the surface test please read the online manual.
Printing with BOTH extruders when not printing dual colored objects
For the best quality prints and to ensure the lifetime of the Dual-Feed extruder, we advise you to print with both extruder motors at all times. How? Start your print and as soon as the print started go to tune and flow, change extruder ratio to 50%/50%. Now both motors will be used. This also allow you to print 9 kg without changing filaments.

Removing the print from build plate
After the print has finished, let the build plate cool down to room temperature. Use a spatula to get some air underneath the print. This makes it easier for you to remove the object from the plate. If you would like to remove the object asap, make sure you open the doors to make the cooling process go faster.
